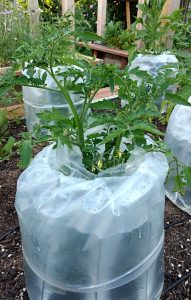
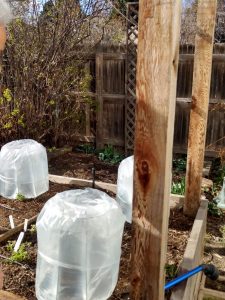
We love Solar Caps, and so do our tomato starts! Solar Caps consist of a sturdy welded galvanized steel wire frame that lasts for years, over which you drape the water-filled plastic bag that comes with the kit. By positioning the Solar Cap where your tomato (or other warm-season veggies) will be planted, in 5-7 days your soil will be warm enough for planting (55+ F). Following planting, Solar Caps form a personal greenhouse for your veggies, which improves growth throughout the season and won’t tip over or collapse. They protect plants from drastic spring temperature fluctuations and from nightly cooling. We leave the Solar caps on our tomatoes though the season, enlarging the opening in the top from a small slit at first to a fully open circle when plants have put on height and weather is consistently warm. We’ve had great success using them for many years and regularly plant our tomatoes by April 15!
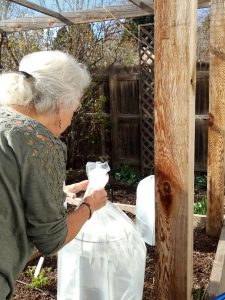
Follow Eve as she sets-up her own Solar Cap:
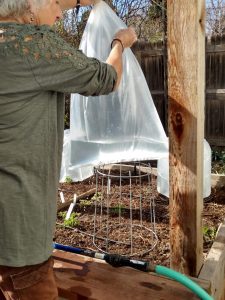
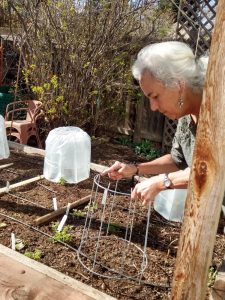 1-Place the wire cage on the desired spot, pressing the legs firmly into the soil so the bottom ring sits on the soil surface.
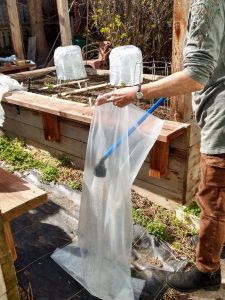
2-Open the tall plastic bag and fill with water to about 4″ deep.
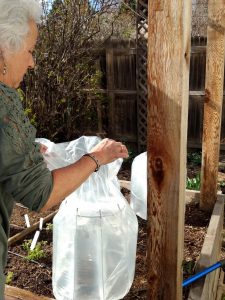
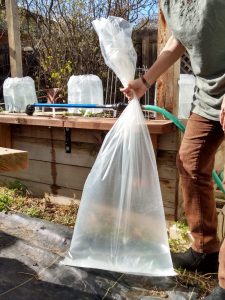 3-Cinch the bag and lift it off the ground. Don’t worry if there is water leaking from the seam at the bottom. This will not affect the functioning of the Solar Cap.
4-Lift the bag and position it hovering over the wire cage until you have it roughly centered. Don’t let the bag touch the wire prongs until you’re ready to gently set it down on the top of the cage.

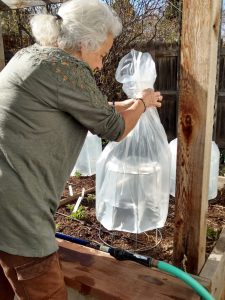
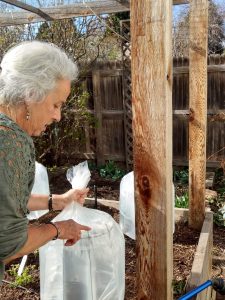
5-Holding the top cinched, allow the weight of the water to slowly pull the bag down around the outside of the cage.
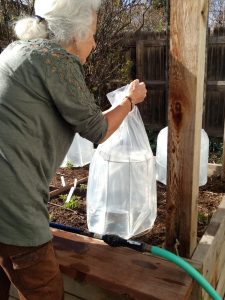
6-Holding the top of the bag Open, slowly fill the ‘water wall’ to within 1″ of the top of the wire cage.
7-Gather the top of the bag again, moving it to even out the thickness of the ‘water-wall’ on all sides.
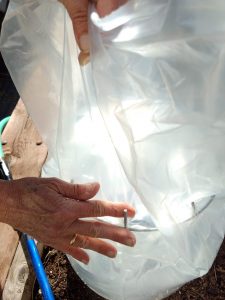
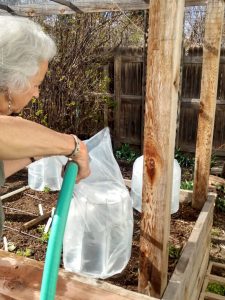
8-When balanced, press down on the plastic around one of the wire prongs so the prong pierces through it. Repeat for each prong, adjusting the water wall as you go, avoiding a lopsided water-wall.

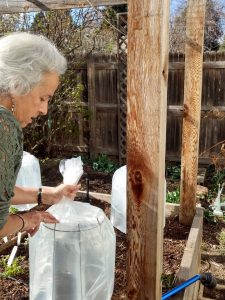
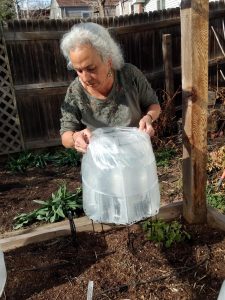
9-Now that the bag is secured on the prongs, open the remaining extra length of the bag and pull it down over the outside of the ‘water-wall’.

10-The seam that was the bottom of the bag is now enclosing the top of the Solar Cap. While you are pre-heating the Solar Cap and the soil under it, you can leave it sealed or cut a 1″ slit in the center of the top.
11-To plant inside the Solar Cap in the warmed soil, move it aside by carefully lifting it by the top ring and setting it down close by, making sure nothing will puncture the bag. Plant your tomato or other vegetable start in the center of the circle, using your preferred organic amendments. Water thoroughly. When finished, carefully lift and reposition the solar cap over the plant, and allow it to settle into the soil.
IMPORTANT: If you haven’t already cut a small slit in the top for hot air to escape, do so NOW. Otherwise, you will cook your vegetables long before their time.