 Do you have plants that you like, but that need to be moved to a different location in your garden? Or has your clump of Shasta Daisy, Daylily, Hardy Geranium, etc. become too wide and now needs to be divided? By dividing your mature perennials, you get free plants to expand your garden, to give to neighbors, or pot up and donate to a fund-raising event like KGNU FM Community Radio’s Spring Plant Sale! The next couple of weeks bring the very best opportunity to accomplish these moves without stressing your plants too much. Search the web for instructions from a trusted source for dividing the specific plant you’re working with.
MOVING PERENNIALS
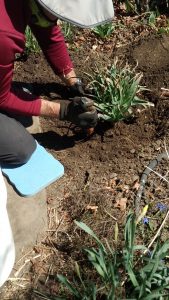
To move Perennials, do some exploratory digging about 6” out from the edge of the topgrowth to determine how far the roots extend out. You want to cut off as little as possible. Then dig deeply all the way around, checking along the way to scope out the root depth. Taprooted plants are much more difficult to dig up intact. Dig the plant out and place it out of the wind and sun in a tub with water to which you’ve added some soluble mycorrhizae, liquid kelp (and Superthrive – optional).
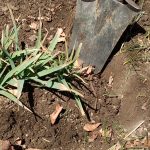

When you’ve prepared a generous planting hole in the new location prepare the backfill soil in a bucket or wheelbarrow. Fill the planting hole with water and wait for it to be completely absorbed. Place the plant in the hole, adjust if it’s too deep or too shallow, and make sure the finished soil level will be the same as in the original location. Gently fill in around the root ball with amended backfill, and tamp it carefully with your hands or a blunt tool handle to eliminate air pockets around roots. When you still have a shallow trench around the clump, water again, slowly and gently. Finish back-filling, tamp the soil again, and apply a good mulch. Be prepared to provide some temporary shade and/or wind-break.
MOVING BULBS
The best time to move bulb-plantings is while they are in bloom. Of course, it is best to leave well enough alone. But if you are renovating a garden area, or discover that your daffodils, tulips, camas, etc. no longer get enough sun because trees have grown to shade them, it would be nice to move them. If you wait until summer or fall, you won’t be able to find them, and you may not remember what they looked like. If you wait until the flowering is finished, you may damage the ability of the foliage to replenish nutrients to the bulb.
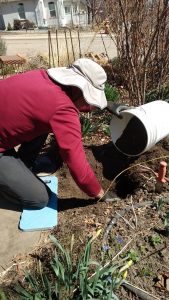
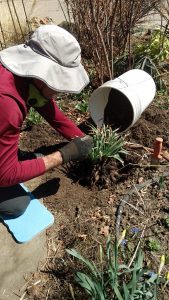
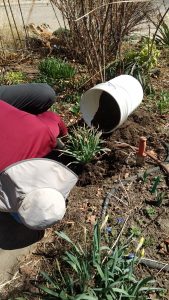
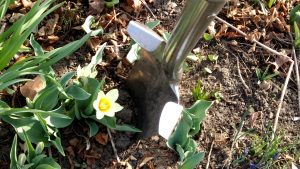 To move them, be sure to dig deep and wide to do as little damage as possible to the brittle, delicate stems and to be sure you get the bulbs and their roots. (Note that the bulbs of large tulips, most daffodils, hyacinths, some Fritillaria varieties and other large-bulbed types can be up to 9 or 10” below the soil surface). Hopefully, you can keep the soil on them intact. Be sure the hole you’ve prepared for their new home is even wider and a little deeper. We like to fill the new hole with water, allow it time to be absorbed, and then place the clump in the new hole, gently fill in around it with amended backfill, and tamp it carefully. When you still have a shallow trench around the clump, water again, slowly and gently, and your bulbs shouldn’t miss a beat.
HARDENING OFF
If you buy plants (like many of ours) that have been over-wintered outdoors, you can plant them in your garden right away as they are acclimated to the elements. The only reason you might need to delay planting them would be that your soil may still be too wet to work. If you make a ball of the soil in your hand and it doesn’t start to crumble when you release your fingers, give your soil more time to dry out so you don’t damage the soil structure.
If you buy plants from inside our greenhouses, they will need to be introduced gradually to the sun, wind and in some cases, the cold. This process is called ‘hardening off’. There are several approaches you can take:
1 – Follow the instructions on our ‘Hardening-Off’ handout.
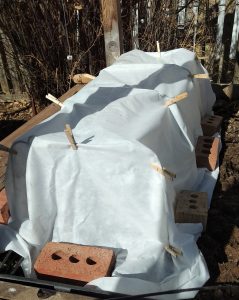 2 – If soil conditions are already good, the air is calm, and temperature is above 45 F, you can plant new cool-season veggie starts, hardy herbs, and perennials, but you’ll need to insulate them from the wind, strong sun and low temperatures. One simple method is to cover the planting area(s) with ‘row-cover’ fabric and gradually open the covered areas for longer and longer periods until you can uncover them completely on a ‘soft’ day (overcast, warm and still). We offer two weights of fabric: lightweight Seed Guard and medium-weight ‘Ensulate’. The classic way to support the fabric so it arches over the plantings is with lengths of flexible PVC pipe, with the ends slipped over short lengths of rebar anchored in the soil. We have also recycled the wire frames of old political campaign signs to created ‘tunnels’, the frost-fabric held in place with clothes-pins. No doubt you can come up with your own variations; just make sure the ribs/supports you us are close together (~2ft) so your ‘tunnel’ won’t collapse under the weight of spring snow.
3 – For individual plants such as perennials in 4” (quart) or 6” (1 gallon) pots that have not been overwintered outdoors, you can recycle 1-gallon clear plastic water jugs (or something similar), cut off the bottoms, and place them over the new plant, pushing the walls firmly into the soil so the ‘mini-greenhouses’ won’t be blown or pushed over. Leave the screw-on caps off so the plants can breathe and excess heat can escape.
